Coop Scoop Blog
How To: Container Gardening
With lots of people interested in gardening this spring, we thought it would be a good time to reprint this article written by Member-Owner Paul Tick and published in 2016 in our Coop Scoop magazine.
In it, Paul breaks down the steps to starting a container garden that you can keep in any outdoor space you have access to. If you come up with any questions along the way, feel free to reach out to our plants department associates, who have seedlings and seeds ready for your 2020 garden.
![]()
by Paul Tick, Co-op member since 1989
Originally printed in the Spring 2016 Issue of the Coop Scoop
Think spring and if you're like many Co-op members, you're thinking of growing your own food. Where you live does not have to determine whether or not you are able - apartment dwellers or those in small homes can still grow herbs, flowers and veggies without much difficulty. You can use pots, barrels, or any other container, and find homes for them on balconies and fire escapes, in driveways, on front steps, hanging from the eaves of your porch, or by sunny windows.
The rewards of growing-your-own are fresh and nutrient-rich fruits and vegetables that taste great, can be picked at the perfect time, and are yours for a great price - free. You can grow many types, and, contrary to myth, they don't need to be dwarf varieties or require full sun. So let's get started!
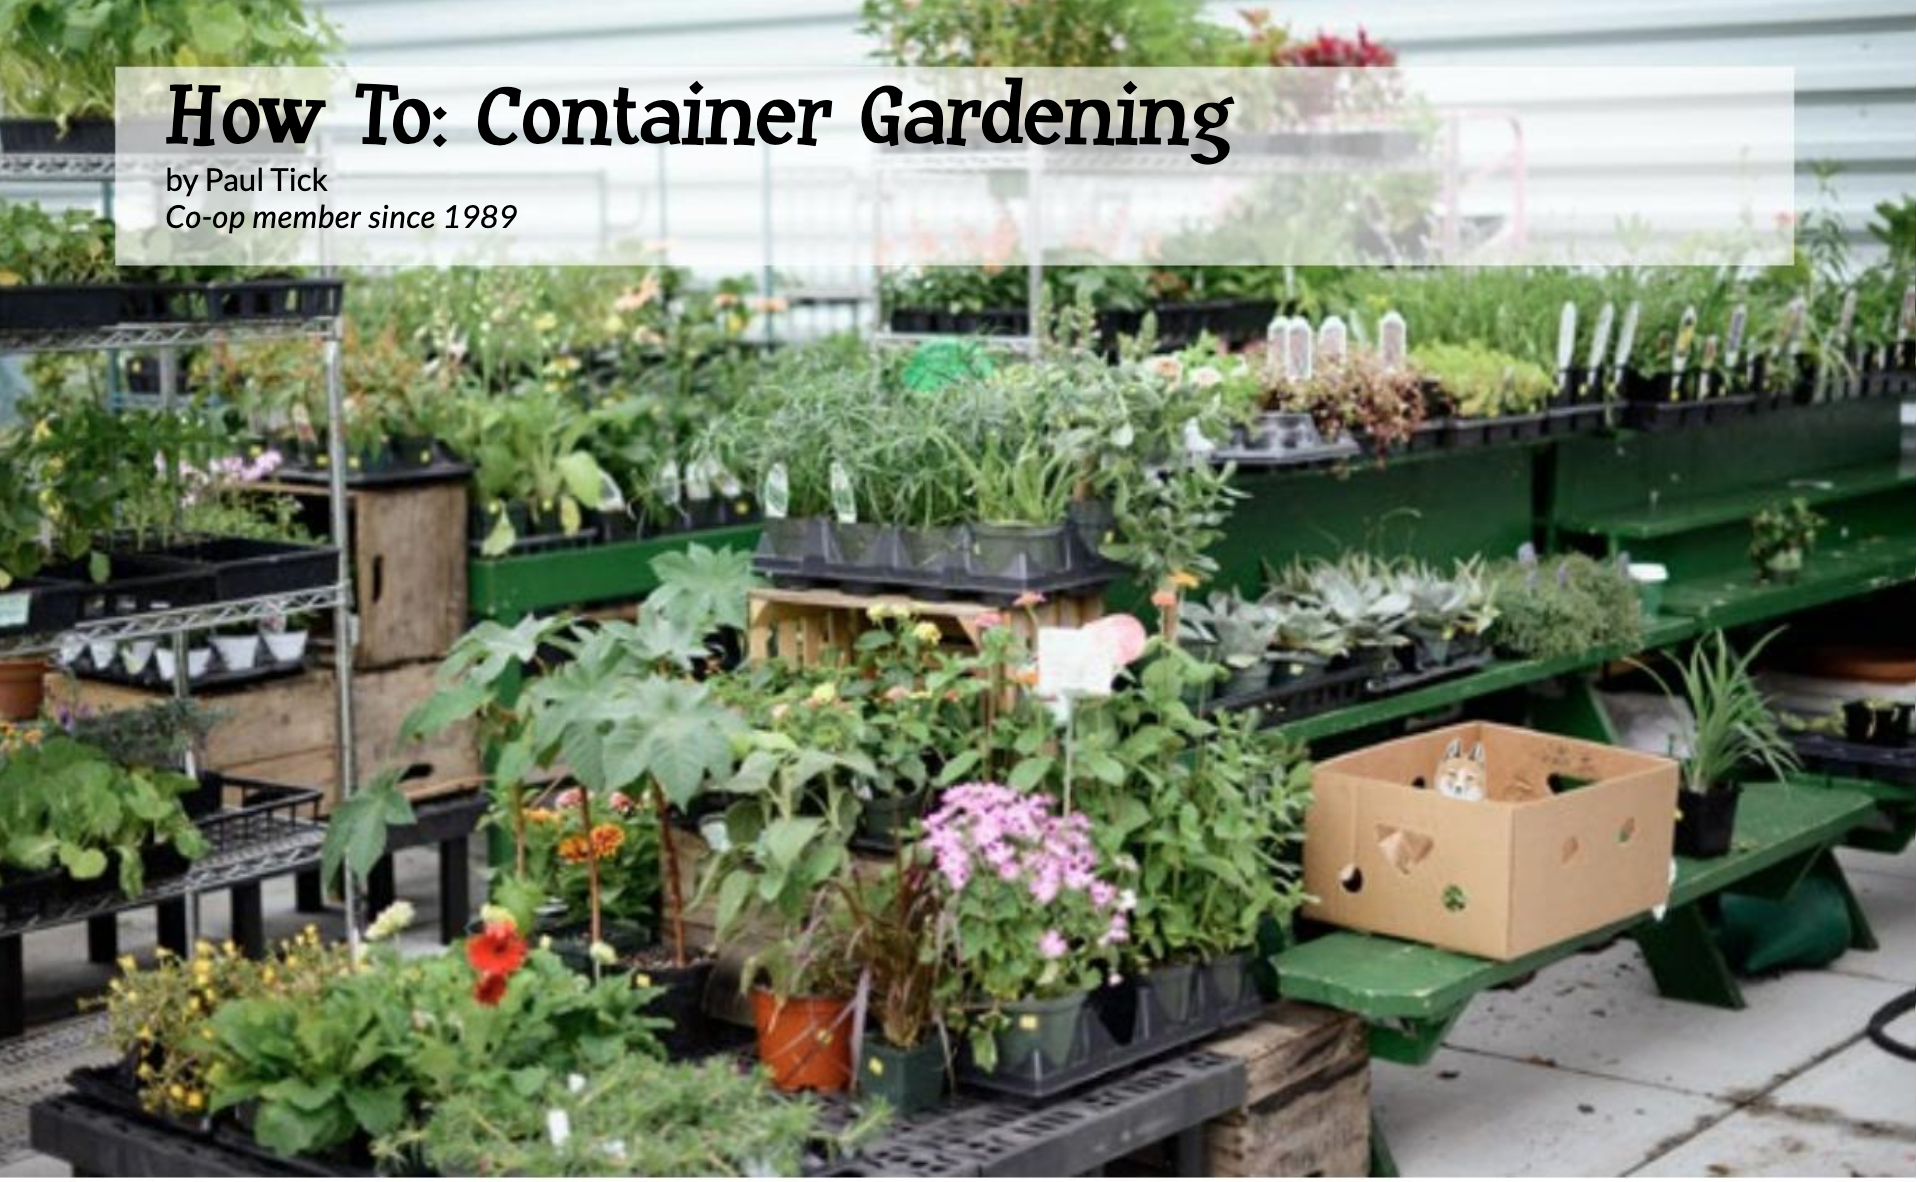
Choose your containers Larger ones are better as there is more room for the roots to grow and they retain moisture longer. Don't worry if it is a small container - you can make that work too. You can purchase flower pots of all sizes and shapes or you can fashion your own from a recycling bin or whatever you can scavenge. Make sure you have holes at the bottom for proper drainage and if the pot is plastic or metal, drill holes in the sides for aeration. Lighter color containers are less likely to overheat, clear ones might allow hot sunlight to damage the roots of the plant. Untreated wood can last a few seasons before rotting. Old metal tubs are often used, but they too can get hot and need extra watering. Under your pot, be sure to place a drainage dish so that when the water and wet soil flow through, you won't have a mess.
Choose your site Your containers will be heavy after you fill them with soil so place them in their spots first. Choose a spot with all-day sunlight if you have such a spot and will be able to water on a regular basis. This is especially important for lovers of sunshine, like tomatoes and peppers. Leaf vegetables like lettuces only need partial sun.
Source your soil Many organizations suggest that regular soil from gardens is too dense to go into pots that are under one gallon in size. For these you can use store bought potting mix, or make a mix of regular soil with compost, wood shavings, etc. There are many recipes for these online and in books.
Before putting in the soil, you may wish to place some cloth material at the bottom, right on top of the drainage holes. This will keep the soil in while allowing the excess water out. Do not fill your containers to the top with the soil. You will need about an inch of extra space for later when you add water.
Decide what to plant If your container is larger than five gallons, you can plant regular-size tomatoes, broccoli or cabbage. Tomatoes will need more sun and the others less. Dwarf varieties of most plants can grow in smaller containers, as can lettuce and all sorts of other green leafy vegetables. Again, the leaf vegetables should be in partial sun and the tomatoes in full sun. Your favorite herbs are generally smaller and many are ideal for container gardening.
How to plant Whether you plant your vegetables from plants that are already started, (called 'starts' or 'starter plants,' which are easier to grow) or from seeds, the methods are really the same as if you were planting right into the ground. Lightly press in the soil around your new plant or seed. If you pack it in, it will be more difficult for the necessary water and air to get to it.
Water thoroughly. If you are using tap water, whenever possible, let it stand for 24 hours so that the chlorine can evaporate. The chlorine may protect you from dangerous micro-organisms but it can damage some of the healthy ones in your soil. After letting the water seep slowly into the soil, you should keep the soil slightly moist to the touch. Do not let the plants dry out, so if you are away for a few days, have a friend check on them. If they are in full sun, they will need more frequent watering than if they are in partial sun. The amount and frequency of watering will change as the season progresses.
Feeding You have lots of plant food choices for sale at the Co-op. Follow label directions and do not overfeed.
Talk to them but seek help if they talk back.
At the end of the season, the dead plants can be put into a compost pile for food for next year?s crop. If things did not work out just right the first season, don't get discouraged. Gardening, like everything else worthwhile in life, is a learning process, and it does, well, grow on you.